How to record Explain Everything’s screen when you want to record continuously and go back and forth between pages or slides? How to do this, when you don’t want to show the user interface at the same time?
Please note that this article applies only to the iOS (iPad and iPhone) version of Explain Everything.
Case study, taken from our user questions:
"I need to record continuously, meaning I must be able to advance slides while speaking. This doesn’t work with your app because it records a separate audio file for each page."
"I need to be able to go back and forth between pages while talking. Sometimes I’ll say: let’s go back to this slide and talk about this again. But if I do that in your app, it will replace what I said earlier."
Explain Everything is designed in such a way, that each slide has its own individual recording. During export, all the slides are exported as video in their original sequence. How does it relate to the case study and non-linear journey through slides?
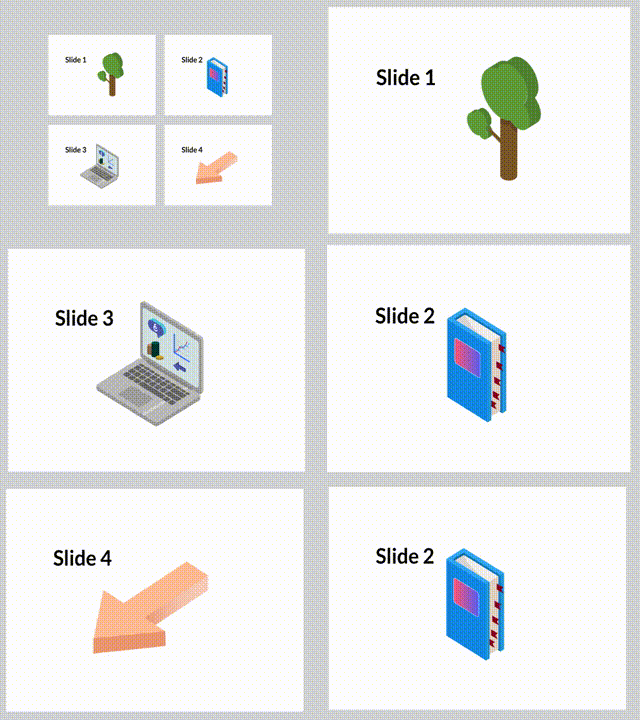
Let’s start with a simple example: let’s imagine that we have created a 4-slide presentation that looks like this:

We want to show the slides in the following sequence while recording the whole project:
Slide 1 -> forward to slide 3 -> back to slide 2 -> go to slide 4 -> back to slide 2.
If we go through our slides while recording, this will look as follows (red circles with numbers show the subsequent recordings):

Will we end up with a video that has all the recordings laid out one after another just like this?
Unfortunately, the answer is "no". It would not work in our regular recording sequence where each slide is a separate EE slide.
Instead, in the exported video, we will end up with something like this:

So as you can see here, we will not end up with a clear 1-2-3-4-5 sequence as we recorded the slides, but with something entirely different. Why?
The app is designed in such a way, that each slide has its own individual recording. During export, all the slides are exported as video in their original sequence. This is why they would appear messed up after export.
Are we really stuck in this situation? Again, no! :-)
There are 3 workarounds to this problem. Some of them might work for you - but they vary in their difficulty level.
-
Easy - have the whole presentation as a grid on one EE slide and never switch EE slides during recording - just move over to various points on the slide (similar to Prezi).
-
High difficulty, for professional users that record with multiple cameras and external microphones (results are suitable for post-editing in Adobe Premiere or Final Cut). A prerequisite is the use an external virtual screen such as Reflector and recording it via Quicktime Player (requires a separate paid app - the Reflector).
-
Medium difficulty, but lots of busy work - duplicate some of the slides that need to be repeated during the presentation.
Here are the details of both approaches, shown together with video examples.
-
Import the presentation as a grid on on EE slide and zoom and pan during recording.
Go through the slides via manual zooming and panning, using the Zoom tool.
Here’s the end effect:
If you don’t like the “zoom out” and “zoom in” effect, or the panning - you can still try the two remaining workarounds.
-
The “professional” approach suitable for post-editing and synchronization with externally captured footage, such as from additional cameras.
In order to be able to take advantage of this workaround, you need to have an iPad and one of the following: a MacOS computer such as MacBook Pro, or a Windows PC. Additionally, you need to purchase the Reflector app (https://www.airsquirrels.com/reflector). Reflector works on Macs and PCs. Here’s a special offer for teachers: https://www.airsquirrels.com/reflector/teacher
Here we need to explain some more about the structure of EE’s output videos and working with a second screen on iPad:
Apart from having all slides exported in sequence, EE has a slight pause during the time in-between slides – this is usually several frames in length, but these accumulate over time, and the result is the EE video export going out of sync when trying to match it with external camera footage. If you are preparing a lecture using footage from multiple cameras, then you will need a lot of manual work to try to catch these silent parts, and get the clips in sync. Our approach described here solves this problem.
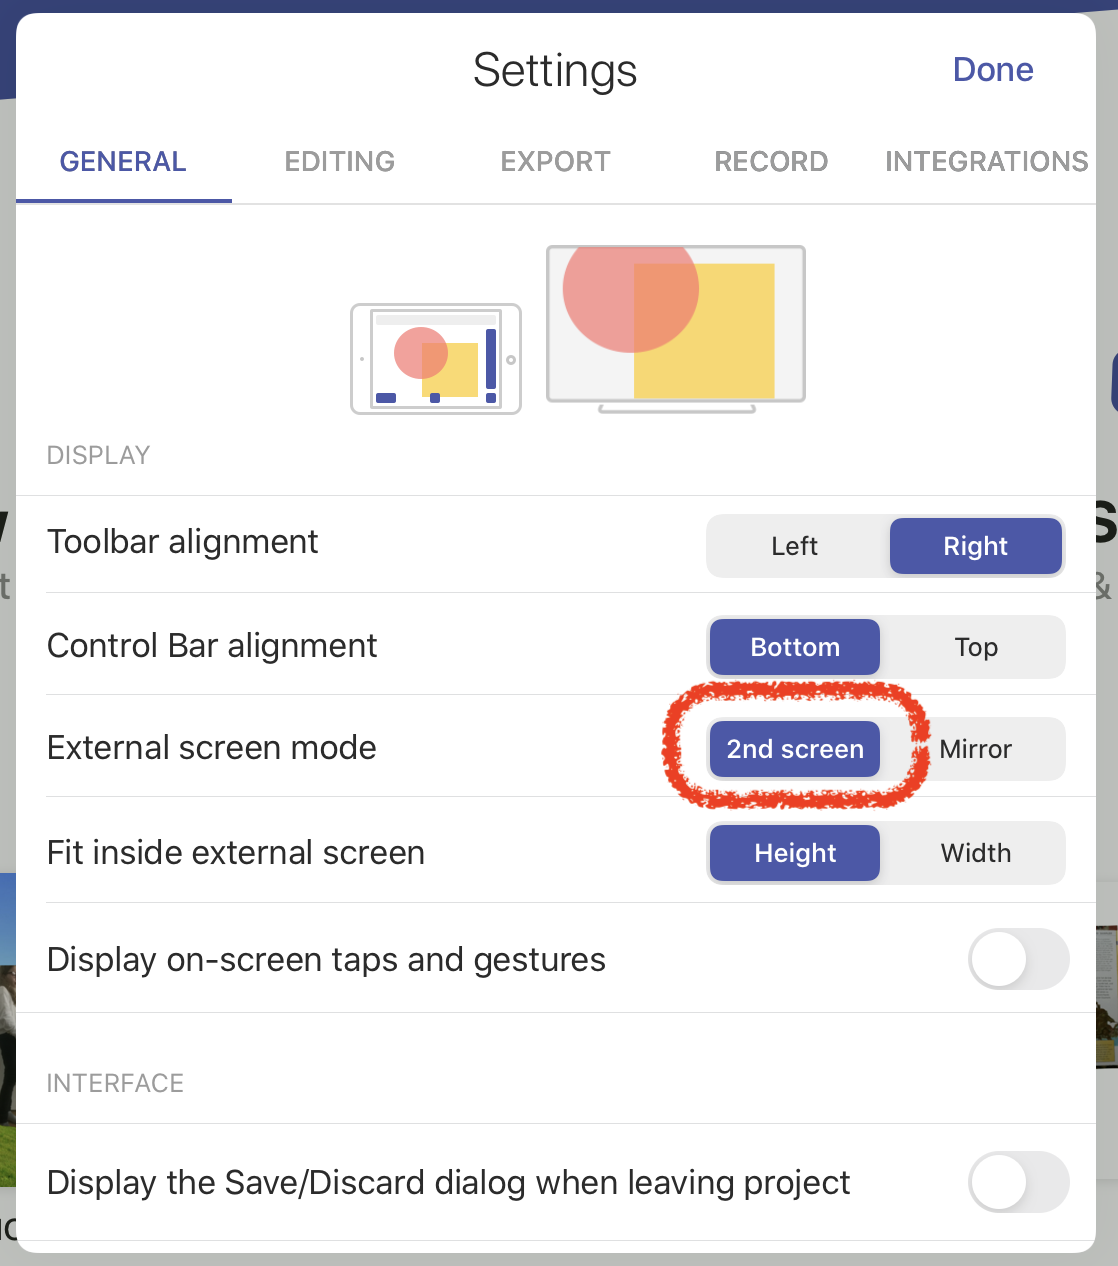
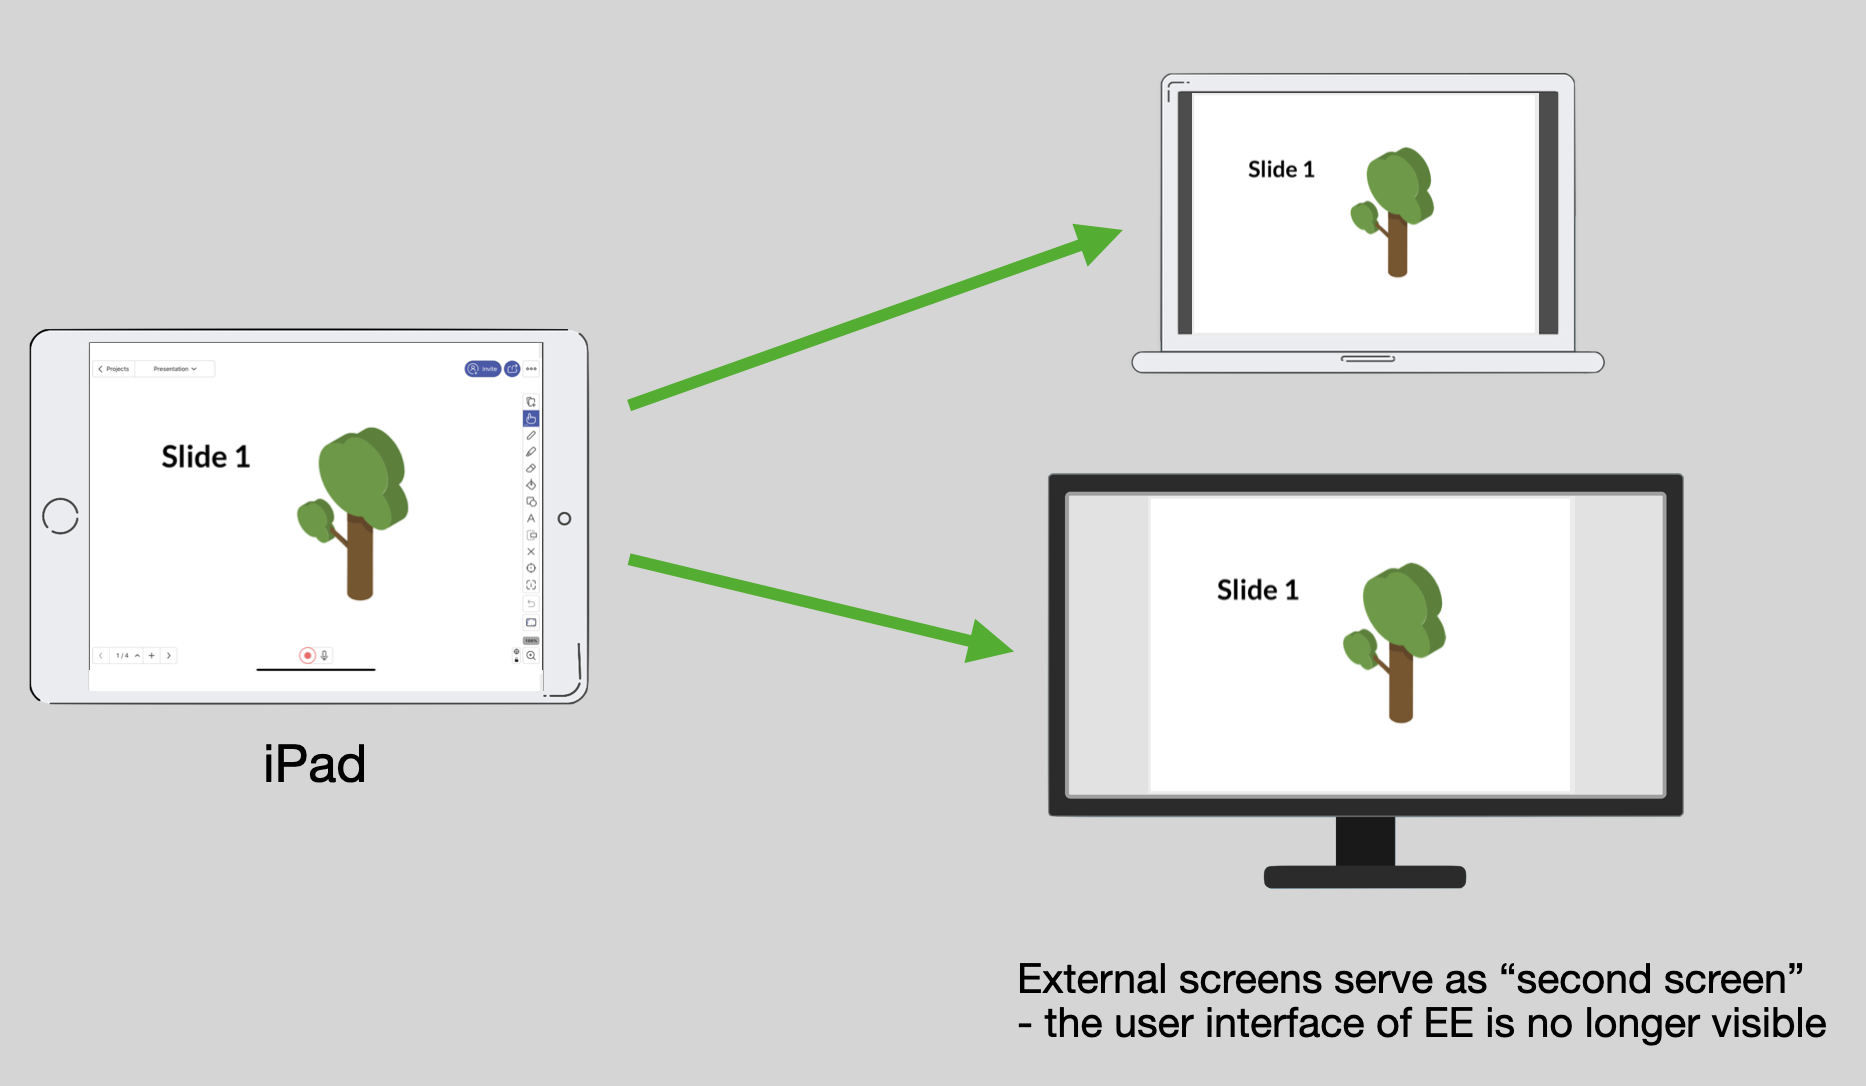
If you do not want to have the user interface elements of EE visible on your video, then please use the "second screen" option - the whole screen of the iPad is sent over to the Airplay device without the tools - just the screen. On the iPad you still see the tools - of course - but the Airplay device is a "second screen”.
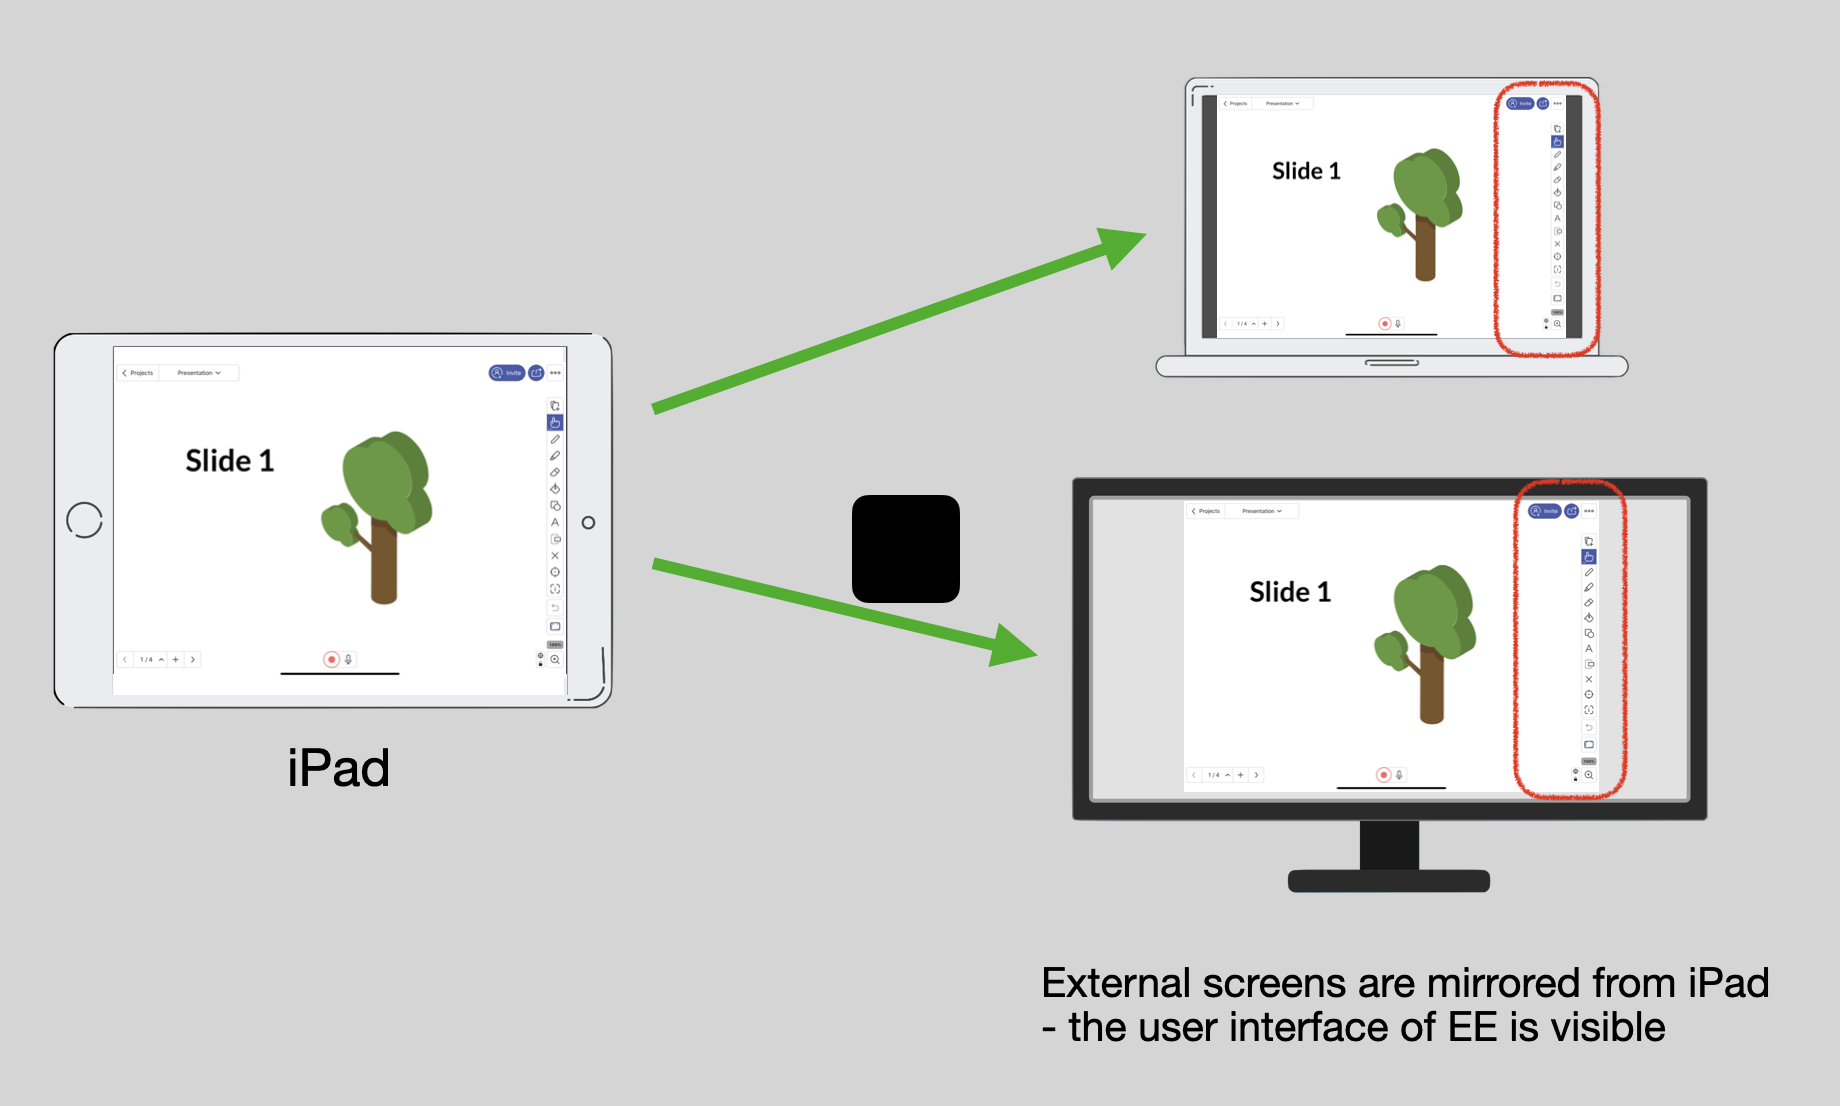
The difference between using the "second screen" and "mirroring the screen" - consider the following images:
1. Mirroring the screen.
2. Using the "Second screen" option.
Now we can finally go to the Reflector app. It acts like a projector (or an Apple TV) that allows you to project your screen to your Mac or PC. It also acts as a second screen to your Explain Everything - and that has some additional advantages.
So let's run Reflector, set the external screen in Explain Everything to “2nd screen” and proceed with the presentation.
First, we need to connect to Reflector just as if we were connecting to an Apple TV.
Slide down from the top right corner of your iPad and tap on the Screen Mirroring. (Learn how to do it: https://support.apple.com/en-us/HT204289).
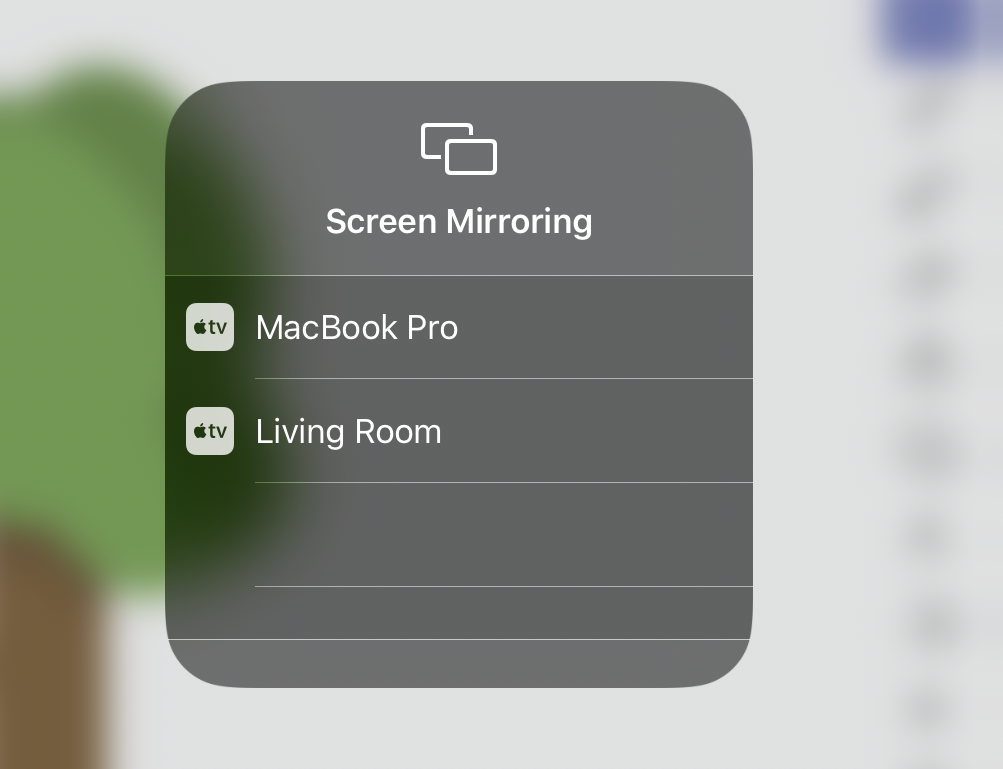
Tap on “Macbook Pro” - this is the Mac that runs the Reflector app in our setup.
Depending on the security options that you set in Reflector, you might also need to enter the code that appears on your MacBook:
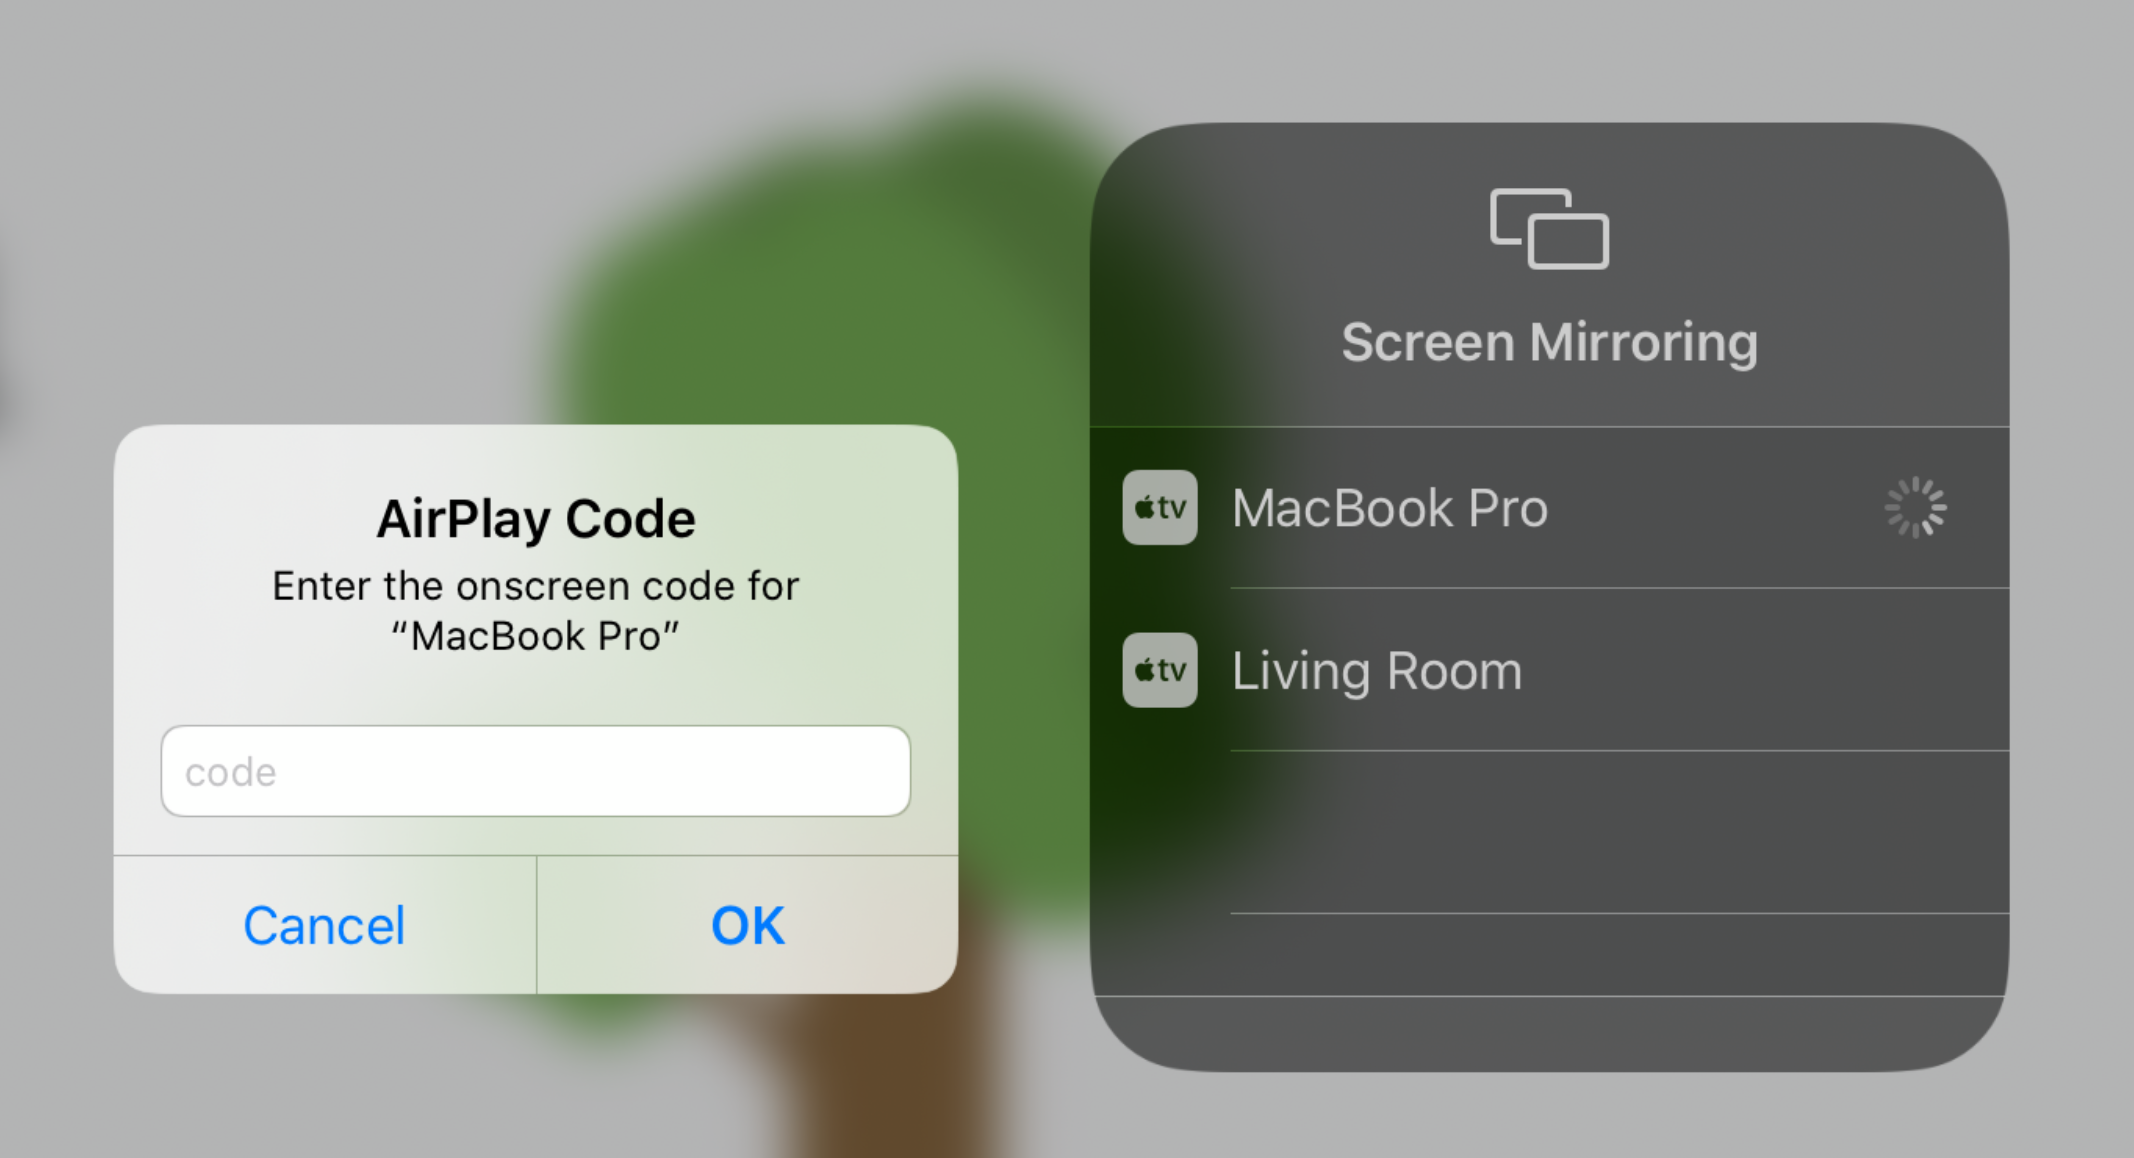
After you do that, you’re all set. You should see the screen of your iPad visible on the Reflector window on your Mac or PC.
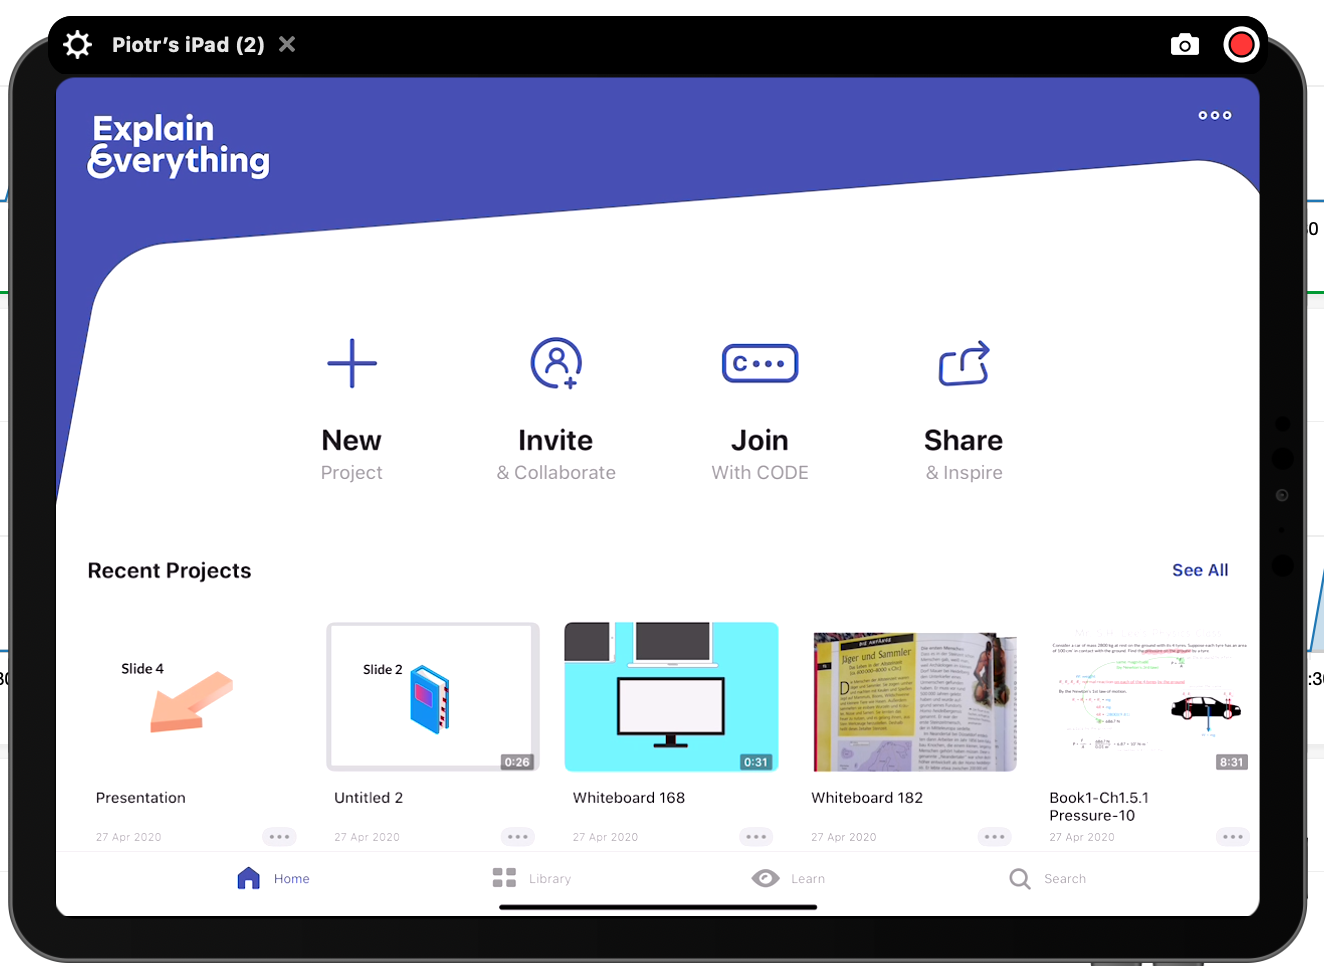
You can now proceed to open your project. Record the video of your iPad’s shared screen using the “Record” button in Reflector (top right corner), use QuickTime Player to record a screencast of this window - or share the window via a teleconference tool such as Zoom.
The resulting video file will contain the whole sequence of your slides without any gaps - and can be synced with any external footage of the same presentation.
3. Duplication of some slides during the "out-of-sequence" recording.
This will involve duplicating the slides that we’re repeating (or "going back to”) during the presentation. It's inconvenient to do live and you need to consciously remember that, but it might work in a scenario when you are preparing a video for students to watch later.
Prerequisite 1 - You need to remember that you can duplicate a slide without recording, just the content. How to do that?
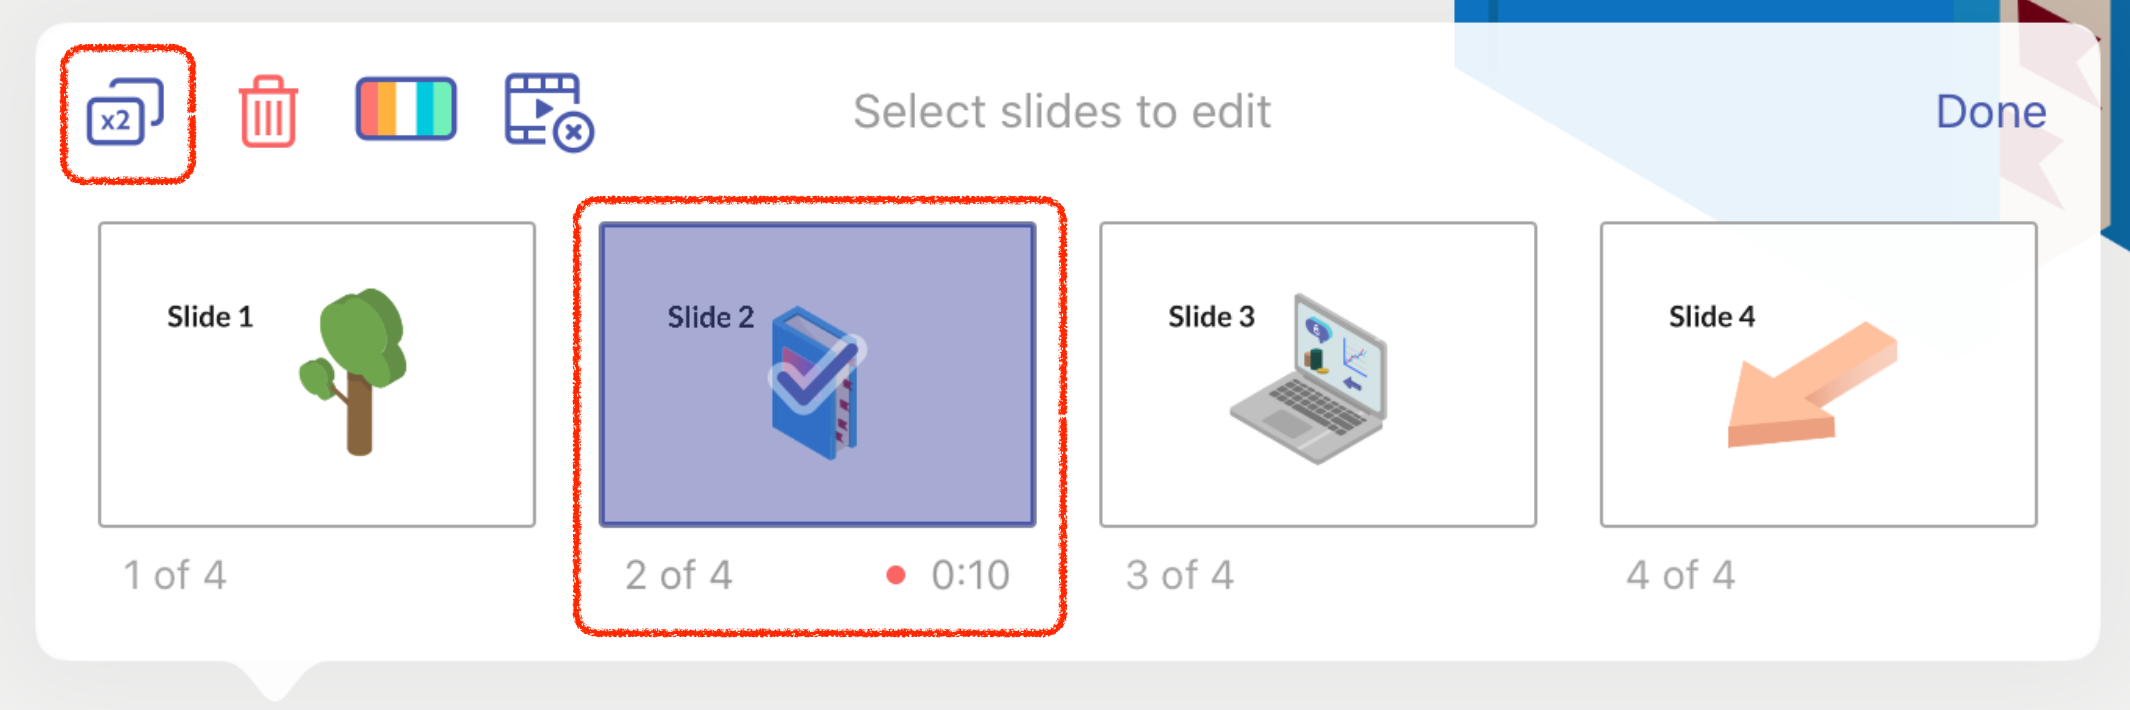
Tap on the slide sorter, then tap “Edit".
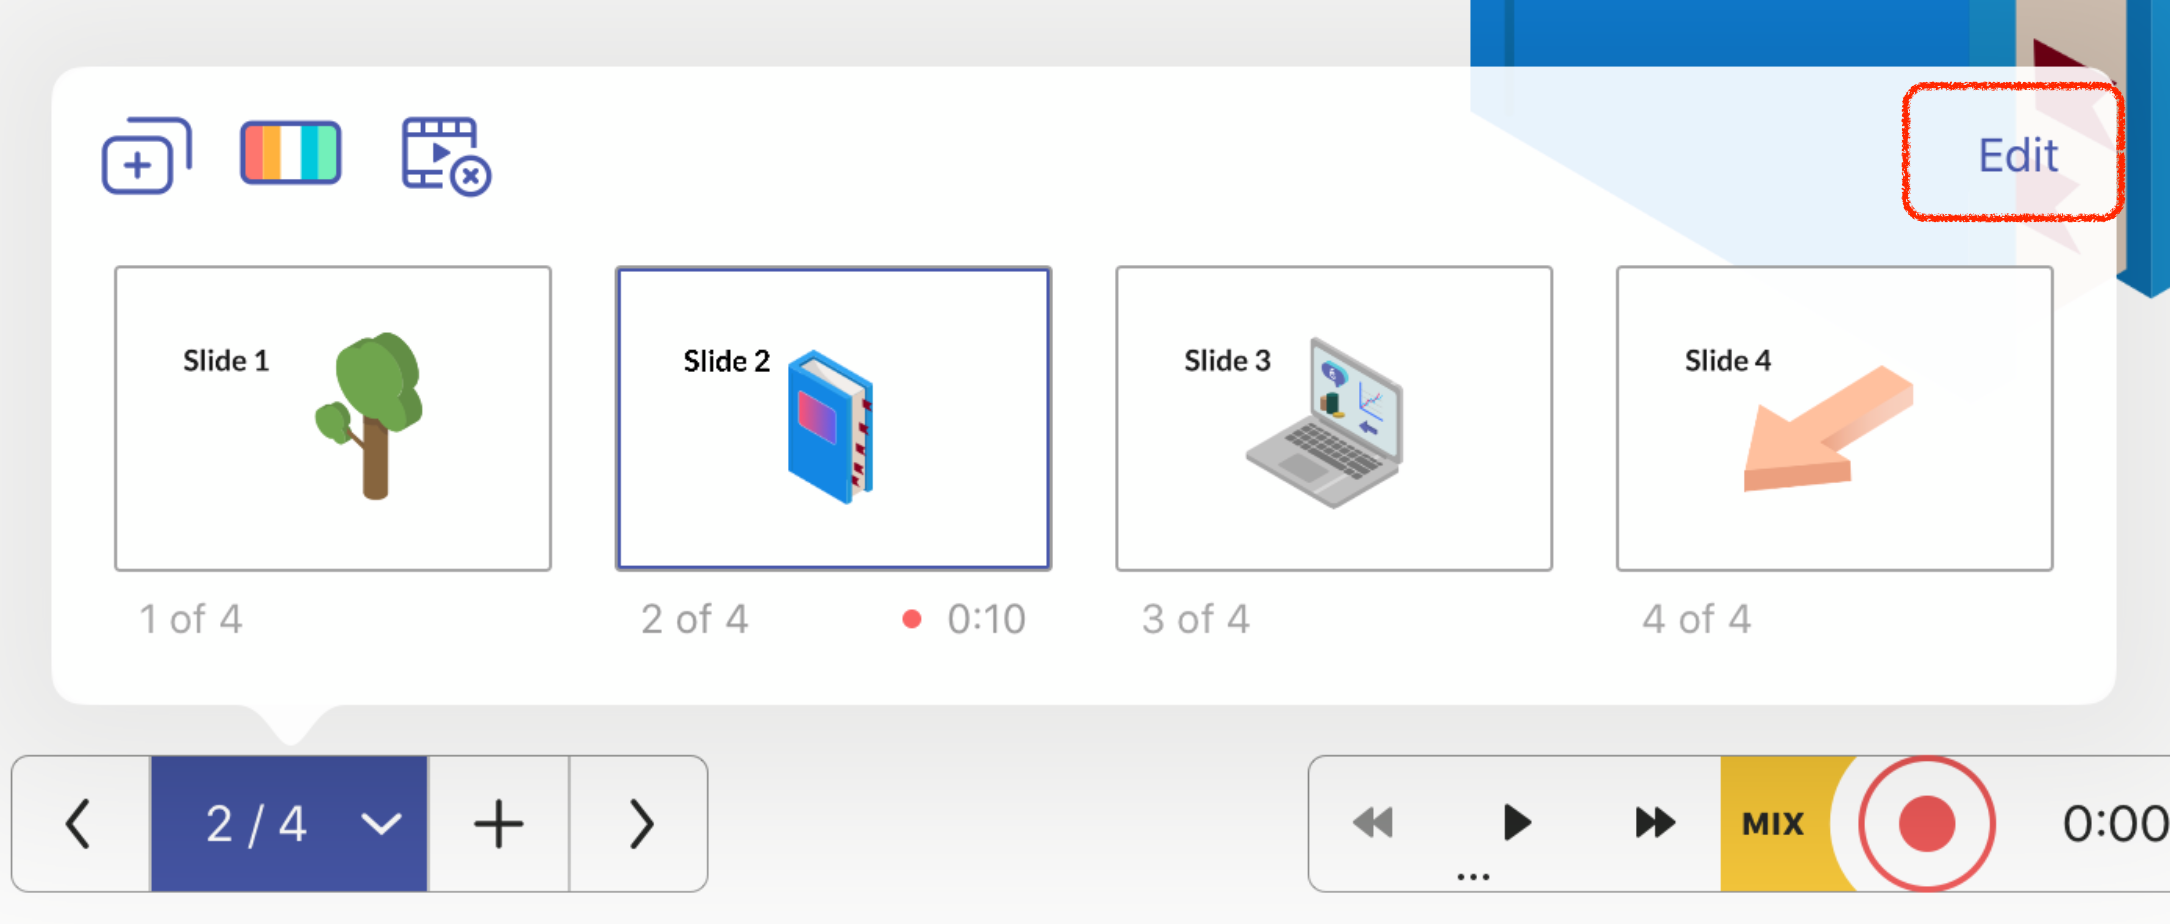
Select the slide to duplicate (please note the red dot with 0:10 under slide 2 - this means that this slide has a 10-second recording), then press “Duplicate” - the “x2” button.
The next step - tap on the “Duplicate without recording” button.
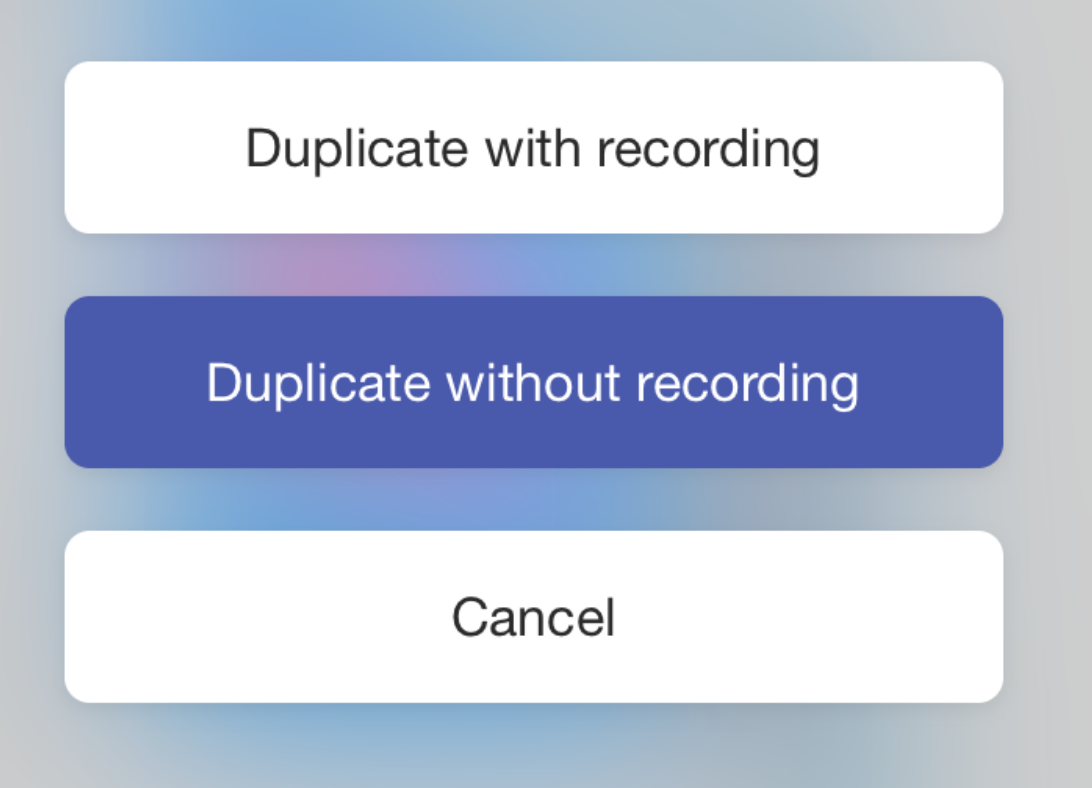
As you can see below, we have ended up with a copy of slide 2, but without the recording:

Let’s repeat what we want to do during our presentation:
slide 1 -> forward to slide 3 -> back to slide 2 -> go to slide 4 -> back to slide 2
Start recording. We are on Slide 1. We go to the third slide while explaining. When we want to go back to the slide no.2, then we need to pause recording, open the slide sorter, move the 2nd slide behind slide 3 and resume recording. We go on normally to slide 4, then we need to duplicate the 2nd slide, place the copy after the 4th slide, and then resume recording on that "Slide 2 copy”.
This will create a copy of the 2nd slide, and the recording on that copy will be exported by EE in the correct sequence. After that "digression" everything comes back to normal.
We will end up with the following sequence of slides in our presentation:

As you can see here, this is really a lot of work - so we do not really encourage this!